YARN: [used 13.5 yds per hat; about 5 gr per hat]
KnitPicks 100% Peruvian Highland Wool of the Andes, Hollyberry, Worsted Weight, 110 yd/50 gram skein
KnitPicks Wool of the Andes, Jalapeno
NEEDLES:
Size 10 US double-point needles
OTHER MATERIALS:
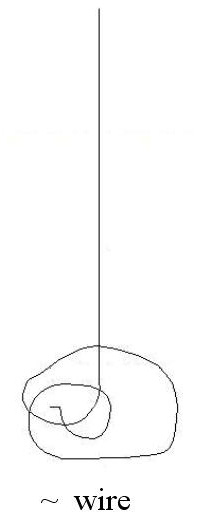
~22-gauge wire threaded through i-cord before felting, long enough to form spiral inside top of hat. Secure wire at tip of i-cord before felting by twisting around half a knit stitch, then cut off twisted wire after felting.
12 inches wool roving [.25 oz pkg per 3 1/2 hats. Portion of roving can be removed and joined with similar separated section from another 12 inches, .25 oz roving hank to cut into 3- to 4-inch pieces as well]
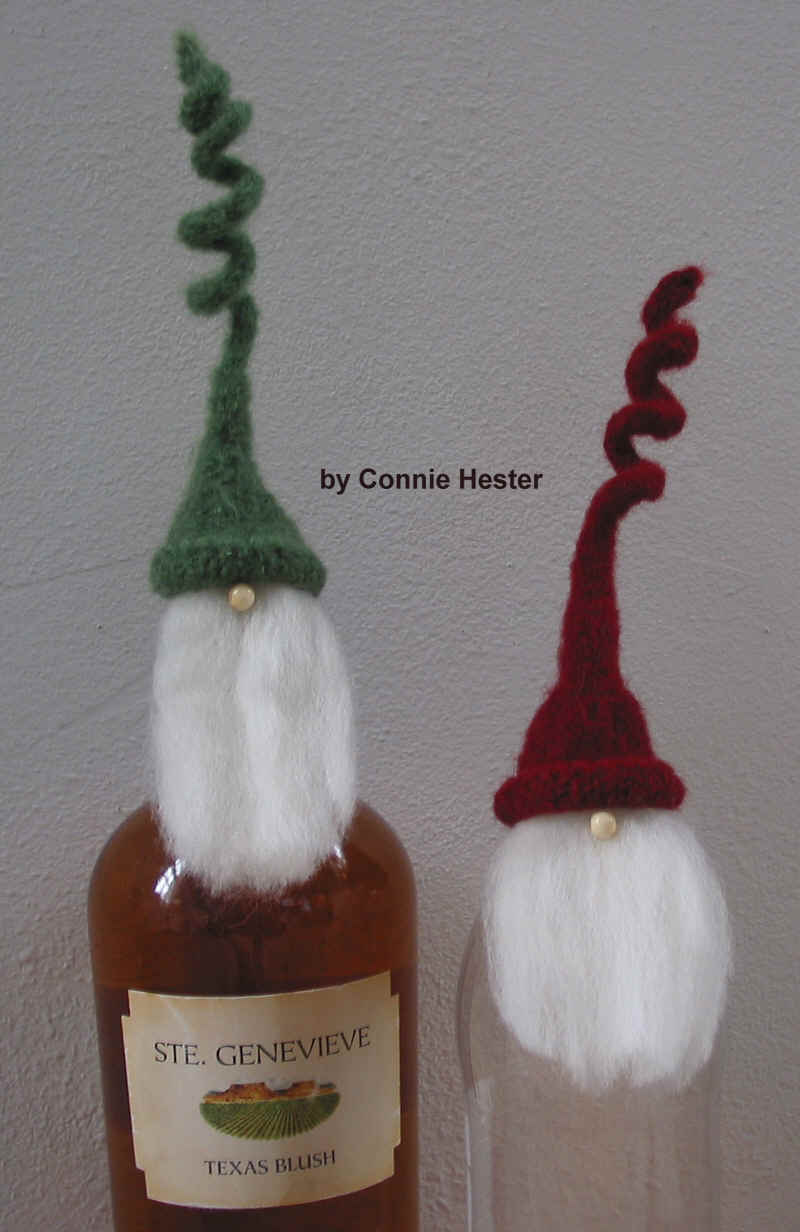
8 mm wooden beads for noses
NOTES: (each hat takes a full hour)
Knit all sts unless directed otherwise.
DIRECTIONS:
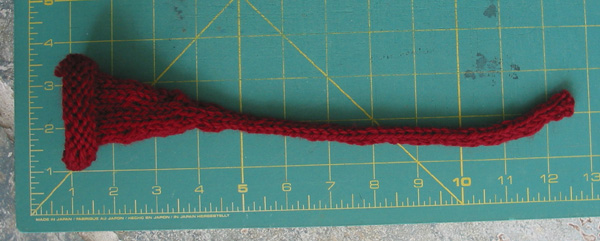
Using 2 dpns, cast on 4 sts. Work in i-cord for 40 rounds.
*K2, m1 (make backward loop onto needle); repeat from * across row. (6 sts) Work 3 rows even.
*K1, m1; repeat from * across row. (12 sts) Distribute sts evenly over 3 dpns. Place safety pin in stitch at beginning of row to indicate beginning of round. Work 5 rows even.
*K2, m1; repeat from * across row. (18 sts) Work 5 rows even.
*K3, m1; repeat from * across row. (24 sts) Work 2 rows even. Then, purl 4 rows even.
Bind off all sts very loosely.
BEFORE FELTING:
FINISHING:
Felt in washing machine in 1 Hot Wash and 1 Cold Rinse. (Repeat if not felted to your satisfaction.) Do not allow to spin after each wash/rinse. Squeeze out water by hand. Use fingers to stretch and form inside hat (especially upper portion) to fit wine bottle top. Turn up narrow brim. Trim away twisted wire around knit stitch at top of i-cord. Form flat spiral with long end of wire in top inside area of hat. Allow to air dry on wine bottle, or, after initial quick reaching of 170-degree temp., I turned oven temp. off and left them in oven with light on overnight, without the wine bottle.
Cut 4-inch sections of wool roving. Machine baste close to edge across top edge. Glue inside front edge of hat, covering almost half of inside perimeter of hat. Allow to dry. (I found glue gun worked best.) Trim bottom edge of roving to form a neat point or curve.
Glue 8 mm wooden bead in place immediately below hat brim for nose.
***Do not post on blogs or websites. This pattern is for the personal use of the individual consumer. Any distribution to others or reprinting of pattern on blogs, websites, or elsewhere constitutes copyright infringement.
KNITS:
PRIVACY POLICY: No personal data is collected for any purpose other than to complete purchase and delivery transactions. Thereafter, all personal data is deleted and/or shredded. Connie Hester alone receives all customer data. This policy has been in place since starting business 43 years ago.
All images and text copyright Connie Hester.
www.ConnieHester.com